
Last updated November 16, 2026
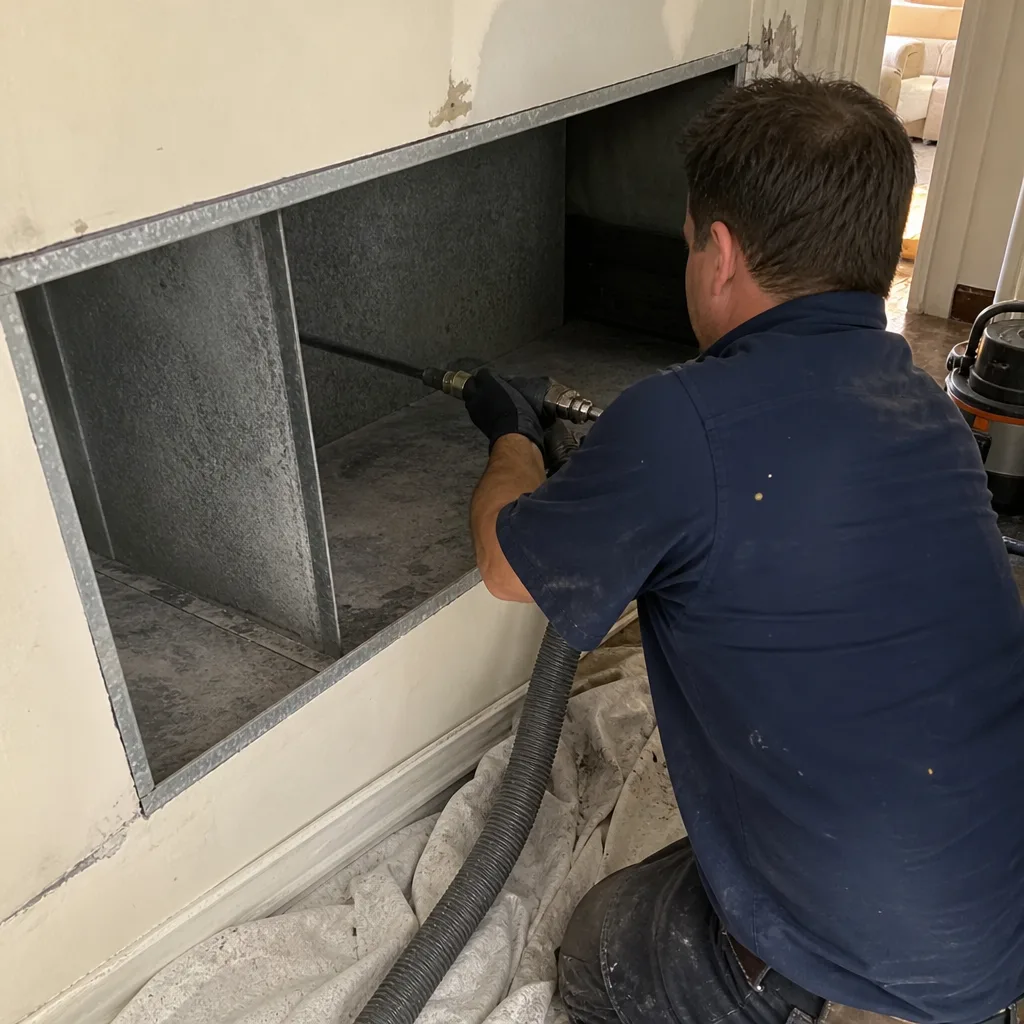
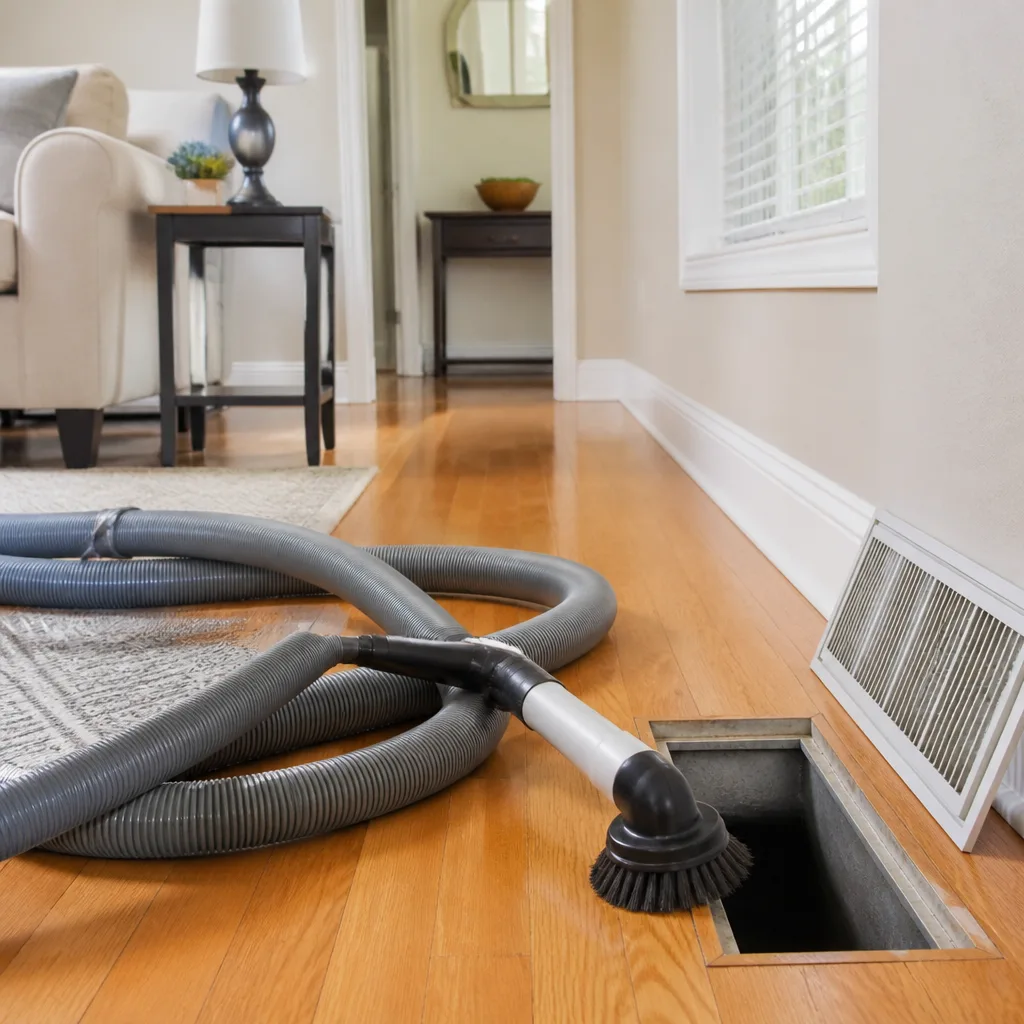 Whole-home duct cleaning
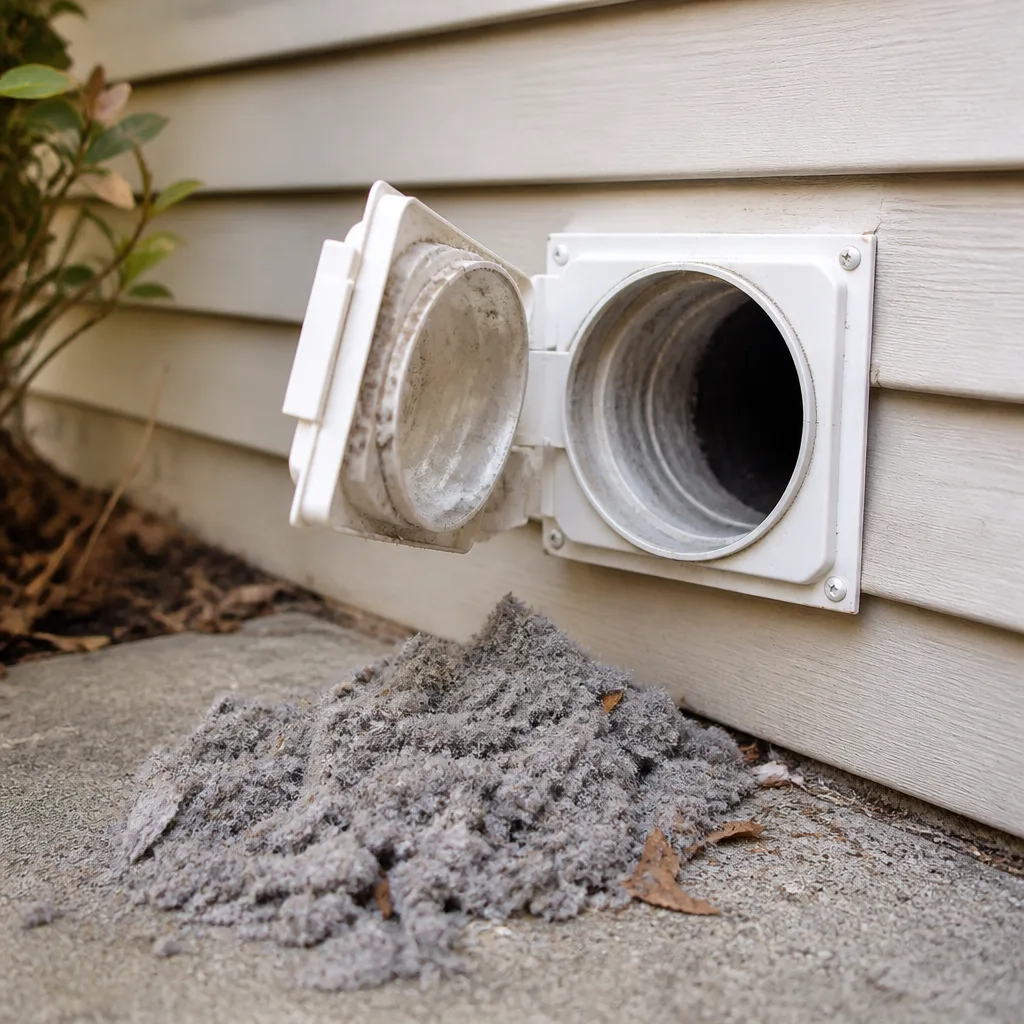 Dryer vent cleaning
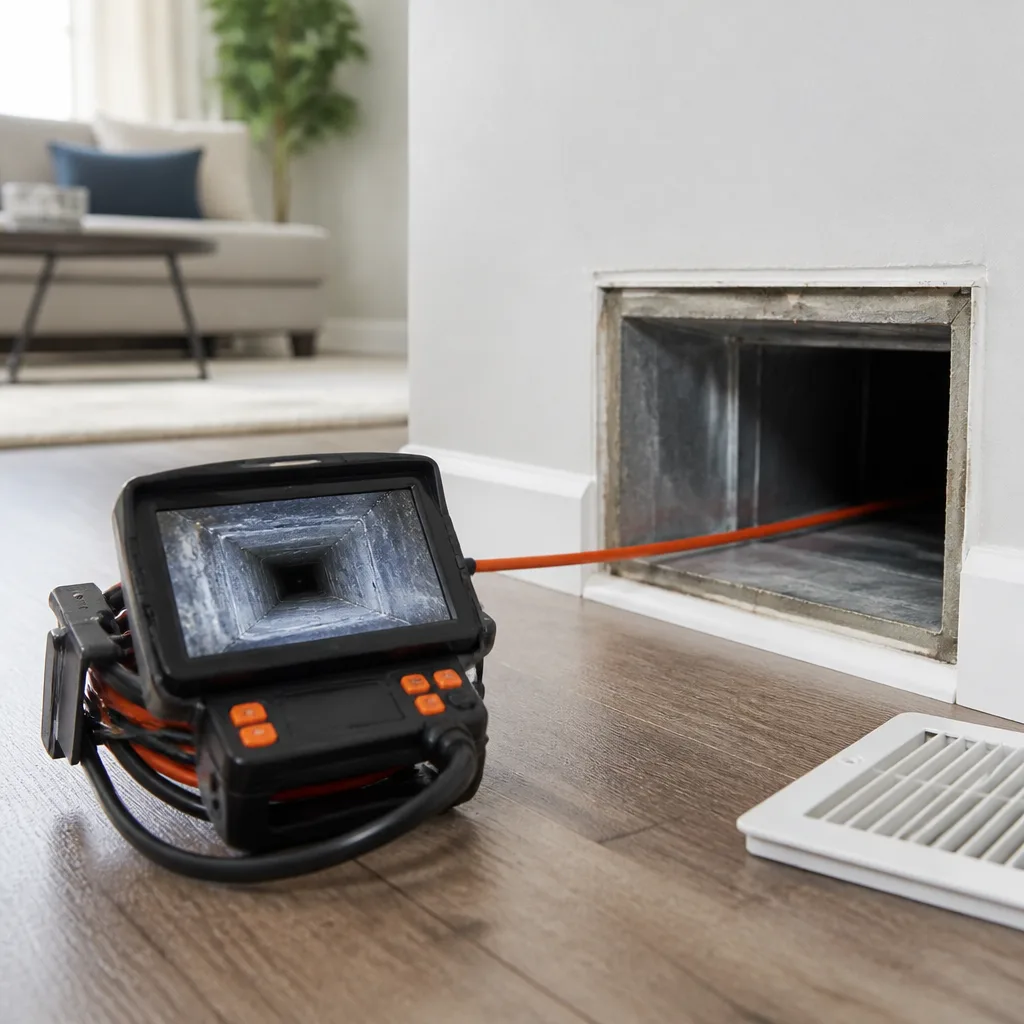 Camera inspection
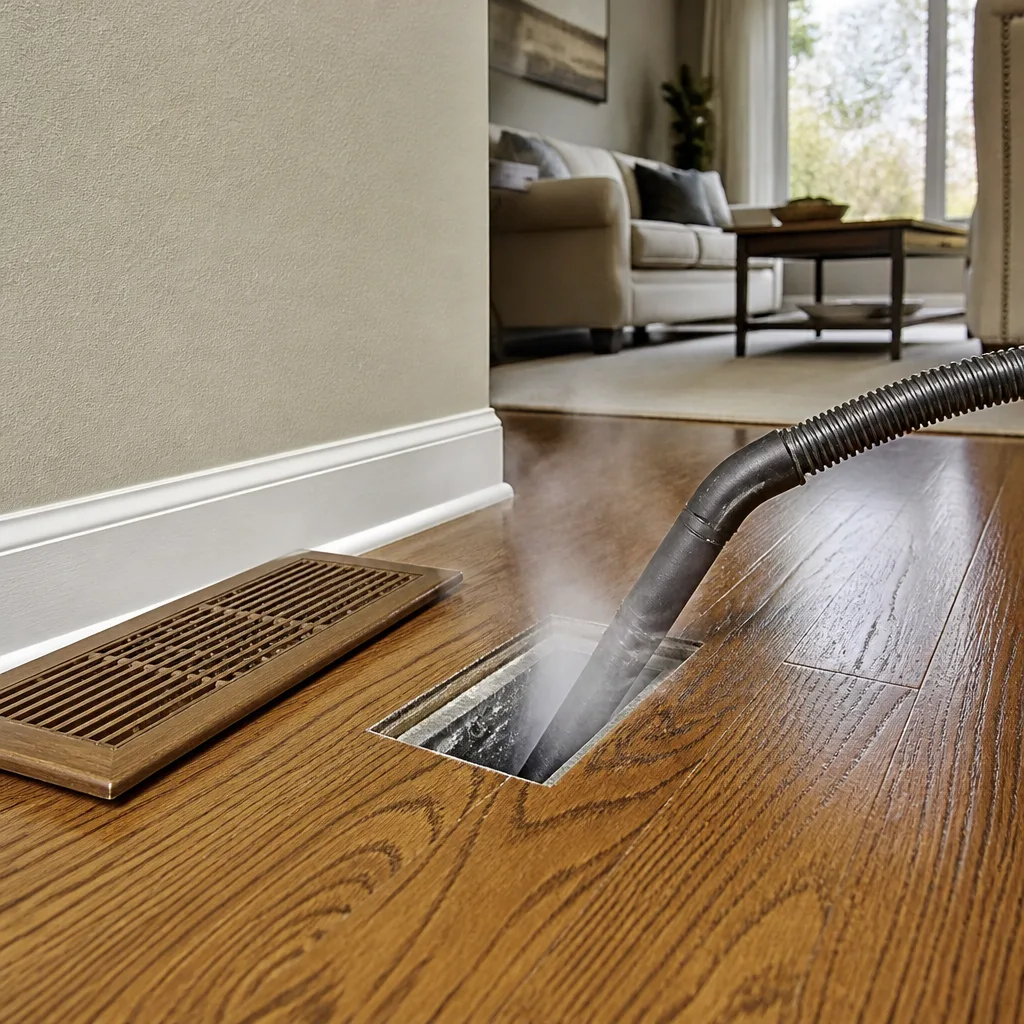 Sanitizing & deodorizing
Whole-system duct and dryer vent check with before-and-after photos - you see exactly what came out of your vents
That "$99 whole-house special" is a bait ad - the real number appears once they are in your hallway, or the "clean" is a shop-vac at the register. We photograph the inside of your ducts before and after instead.
Air Duct Repair Maintenance Schedule: What to Do and When
Most homeowners treat duct maintenance as a yearly chore, something to remember or forget. That framing gets the timing wrong. In Riverview, the most valuable month to inspect and repair ductwork isn’t spring, when national checklists say to act. It’s October. Attic temperatures finally drop below 100°F, the summer’s humidity damage is fully visible on plenums and flex runs, and you still have months before peak cooling season stress returns. This guide lays out a phased inspection protocol built around that reality: a month-by-month calendar for Riverview, a post-hurricane-season check, and a clear split between what needs annual eyes-on inspection and what is condition-based only. You’ll also learn how to log duct condition yourself with dated photos, so you have a baseline before anyone tells you repairs are needed.
Quick Answer
Air ducts in Riverview need a full visual inspection once a year, anchored in October after the worst summer heat breaks. Cleaning intervals are condition-based and typically fall in the three-to-five-year range for most homes. Post-hurricane-season inspections are separate and should happen every year, whether or not the storm made landfall near you. Filters in this climate need changing more often than the standard three-month advice suggests. Everything else is on an as-needed schedule driven by what the October inspection finds.
Styles & brands we work with
- Whole-home duct cleaning
- Dryer vent cleaning
- Camera inspection
- Sanitizing & deodorizing
Table of Contents
- Why October Is the Right Month to Inspect Ductwork in Riverview
- The Month-by-Month Duct Maintenance Calendar
- What to Inspect After Every Hurricane Season
- Annual vs. Three-Year vs. Five-Year vs. As-Needed: What Goes Where
- How Often to Change Your Filter in Riverview’s Climate
- How to Log Duct Condition with Dated Photos
- Signs a Duct Needs Repair, Not Just Cleaning
- Duct Repair vs. Duct Cleaning: Different Jobs, Same System
Why October Is the Right Month to Inspect Ductwork in Riverview
Duct inspections aren’t calendar-neutral. What you can see and what you can safely reach change with temperature and humidity. In Riverview, both converge in October, which makes it the most useful inspection window of the year.
During peak summer, attic temperatures climb well above 100°F. Working in that heat is uncomfortable and risky for a technician, and some inspectors simply won’t go in. Worse, high attic heat can mask the condition of the duct system itself: rubber components soften, tape adhesive gets tacky, and everything looks “wrong” in a way that doesn’t reflect how the system actually runs in cooler months. By October, attic temperatures drop below that threshold, and what you’re looking at is closer to the system’s stable state.
The other half of the October case is humidity. Summer in Riverview pushes moisture through cold attic spaces and interior duct runs. Condensation on cold duct surfaces, especially insulated flex runs and plenum connections, can soften mastic, lift tape, and stress liner materials. That damage is invisible in May and obvious in October, because it’s had a full summer to develop and the attic has now dried out enough to see it.
- Temperature: attic inspections become practical again
- Humidity evidence: full summer of moisture damage is visible on connections and insulation
- Timing buffer: months remain before next cooling season puts stress back on the system
- Repair window: contractors have more scheduling capacity than in peak summer
Treat October as your inspection anchor and the other eleven months as response and maintenance. That single shift turns a neglected system into one you understand. The full protocol that follows depends on it.
The Month-by-Month Duct Maintenance Calendar
A generic national calendar tells you to clean the ducts “in spring.” That advice fits a New England heating-dominant climate, not Riverview. The local calendar is driven by a long cooling season, high humidity, and a hurricane season that runs from June through November.
January through March
Cooler months. This is the window to act on anything October flagged that you didn’t repair yet. Replace filters on schedule, verify returns are unobstructed, and note any new whistling or rattling. If honeycomb or electrostatic filter upgrades were recommended, this is a comfortable time to have them installed.
April through May
Pre-season prep. Have the air handler and coil checked before cooling season; a dirty coil pushes more moisture into the duct system and shortens liner life. Confirm return grilles are clean and that the filter you’re running matches what your equipment was designed for. Filter selection can make or break the season.
June through September
Peak cooling season and hurricane season coinciding. Cleaning is rare in this window; the work is monitoring. Pay attention to humidity in the house, musty odors when the system starts, and any new temperature imbalance between rooms. Log what you notice.
October
The anchor inspection. Full visual review of plenums, flex runs, insulation, connections, and accessible duct interiors. Photograph everything and compare to your baseline. Flag repairs. Schedule cleaning if the inspection supports it.
November through December
Post-hurricane-season inspection (see the next section) and repair work. Cooler months are ideal for hands-on repairs, and repair work done now will hold through next summer if the connections are done properly.
Quick note on filters
This calendar assumes the filter is changed separately and more often. See the filter section below.
What to Inspect After Every Hurricane Season
Hurricane season runs June through November, and the most important duct inspection after any season isn’t structural. It’s mechanical. Even in homes that took no structural damage, negative-pressure events created by high wind can pull flex duct off plenums, dislodge connections, and stress seals throughout the system.
Here’s what’s happening. When wind speed outside the house drops pressure at the envelope during a storm, the pressure inside the duct system can briefly exceed the pressure outside, pushing outward at every weak connection. Flex duct at the plenum is the most common casualty; the inner liner can separate from the collar, or the outer jacket can tear. Tape and mastic may fail. Sometimes the duct stays attached but the seal is compromised, which is when you start seeing the tell-tale signs below.
- Look at every accessible plenum connection. Flex duct should be firmly attached with no visible gap, torn inner liner, or lifted tape.
- Check supply boots where ducts meet vents in ceilings and walls. A duct that has pulled off the boot will often still blow air, just not where it’s supposed to.
- Inspect attic runs for ducts that have fallen, sagged, or come loose from supports.
- Test for balance. A room that used to be comfortable and isn’t may have a duct that’s now disconnected behind a wall.
- Check return air paths. A blocked or disconnected return can put the whole system under stress.
- Look for moisture intrusion. Water stains on insulation or rust on metal components point to a leak path that the storm made worse.
Riverview homes near tree cover and older housing stock are where we see the most post-storm connection issues, though any home can lose a flex duct connection in a bad season. Don’t wait for a problem to announce itself. The fix is usually simple early and expensive late. Our air duct cleaning team folds a post-season connection check into every cleaning for this reason.
Annual vs. Three-Year vs. Five-Year vs. As-Needed: What Goes Where
Most “air duct maintenance schedule” advice collapses everything into “once a year.” That’s not useful and it’s not accurate. Different parts of the system need attention at different frequencies, and getting the split right saves both money and hassle.
Annual: eyes-on inspection
Every year, someone with the right equipment should look at the accessible duct system. Plenums, filter slots, accessible runs, insulation condition, connections. This is a visual inspection, not a cleaning. It costs little or nothing and it’s how you catch problems early. It also establishes your baseline for next year.
Three-year: cleaning for most homes
In Riverview’s climate, most homes with normal dust loads and moderate occupancy fall into a three-year cleaning window. High-dust environments (homes near active construction, homes with multiple pets, older housing stock with original ductwork) trend shorter. Lower-occupancy homes with newer systems can stretch longer. The inspection tells you which way to lean.
Five-year: cleaning for lighter-load cases
A newer home with a well-sealed system, a strong filtration setup, and light occupancy can go five years between cleanings without a problem. This isn’t a claim to stretch the interval; it’s a recognition that duct cleaning is condition-based, and a five-year interval is defensible when the conditions support it.
As-needed: repairs, resealing, and targeted fixes
Repairs don’t follow a calendar. They follow what the inspection finds. Loose connections, torn insulation, sagging flex, moisture intrusion, pest activity. A well-run maintenance schedule is designed to catch these before they get expensive. A poorly-run one waits for the system to fail.
- Annual: visual inspection of accessible ductwork
- Three-year (typical): cleaning for most Riverview homes
- Five-year (lighter load): cleaning for well-sealed, newer systems
- As-needed: repairs, resealing, connection fixes
- Standalone: dryer vent cleaning (see below)
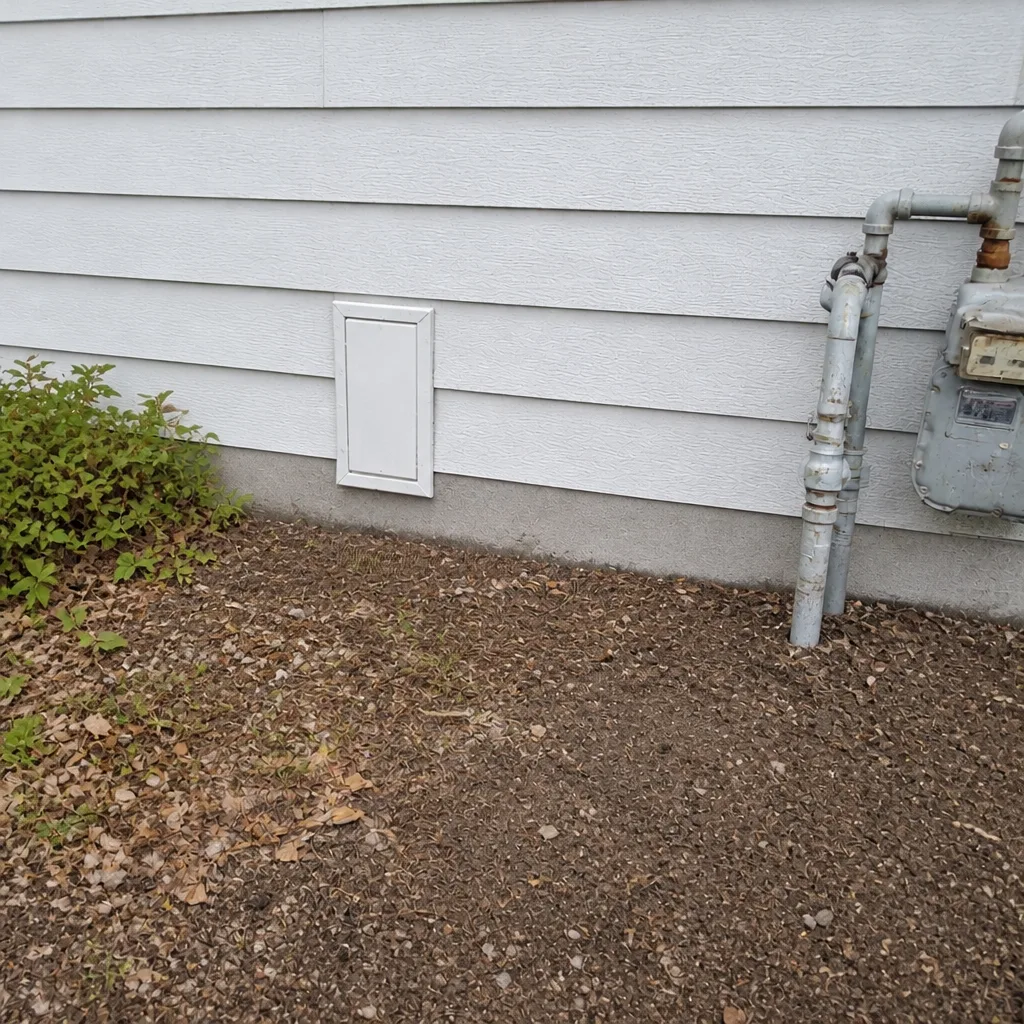
One more piece many schedules miss: the dryer vent. Lint buildup in a dryer vent is a fire risk, not just an efficiency issue, and it’s a separate service from duct cleaning. If you’re running a home maintenance calendar, adding an annual dryer vent check is the single safest addition you can make. Our dryer vent cleaning is offered as a standalone service for exactly that reason.
How Often to Change Your Filter in Riverview’s Climate
The standard advice is every three months. In Riverview, that’s often too long. High humidity and a long cooling season mean the filter is capturing a steady load of dust, pollen, and moisture-borne debris for more of the year than in cooler climates. A filter that would last three months in a cooler part of the country can be visibly loaded in half that time here.
A sensible starting point is every four to six weeks during peak cooling season and every two to three months the rest of the year. Adjust based on what you see when you pull the filter. If it’s visibly packed and gray at four weeks, change it at four weeks.
The reason this matters for the duct system, not just the air handler, is that a dirty filter stresses the whole system. Restricted airflow raises static pressure inside the ducts, which pushes unfiltered air through gaps and leaks in the duct walls. Those gaps pull dust and insulation particles into the airstream, and the duct liner accumulates buildup faster than if the system were running with proper airflow. In practical terms, filter neglect shortens the interval between cleanings and can accelerate wear on connections that were already marginal.
Filter selection matters too
A very-high-MERV filter on an older system that wasn’t designed for it can choke airflow and cause the same problems you’re trying to avoid. The right filter is the one your equipment was designed for, changed on time. If you want to upgrade filtration without starving the system, a whole-home approach rather than an oversized return filter is often the better move. We install Honeywell and Aprilaire filtration products that are sized for the equipment, not bolted on afterward.
How to Log Duct Condition with Dated Photos
If you take one thing from this guide, make it this: log your duct condition with dated photos. The reason is simple. When someone tells you a duct needs repair, or that your system is “much worse than expected,” the only defense you have is a baseline you created yourself. Without one, you’re relying on a stranger’s assessment. With one, you’re comparing their claim to a record you took.
You don’t need specialized equipment to start. A phone camera and a few minutes a year will do it.
- Photograph every accessible plenum connection at the air handler and any visible distribution points. Get close enough to see tape, mastic, and the inner liner.
- Photograph the filter slot with a fresh filter installed and with the filter removed.
- Photograph each visible flex run in the attic or crawlspace, especially where it connects to boots, wyes, or plenums.
- Note the date on every photo. Phone metadata is fine, but write it on a notepad too so the record travels with you if the phone doesn’t.
- Photograph any insulation damage you can see, including torn outer jackets and any staining that suggests moisture.
- Photograph supply vents and returns with grilles removed so you can see inside the boot.
- Add a short note with what you smell, hear, or feel. “Musty odor in primary bedroom” is useful context that a photo can’t capture.
Year over year, this record is more valuable than any inspection report from a single visit, because it shows change. If a contractor tells you a connection has failed, you can look at last October’s photo and see whether it was already compromised. If they claim a duct has been leaking for years, your photos can confirm or contradict that. You also have a clear record if you’re managing a rental property or dealing with an insurer after storm damage.
Beyond photos, the running log should include cleaner visits and dates, filter changes, any repair work with the description of what was done, and equipment service dates. Keep a single folder. Five minutes a year, and you’ll never be at a disadvantage when someone tries to tell you what your system needs.
Signs a Duct Needs Repair, Not Just Cleaning
Not every dirty duct needs cleaning. Not every cleaning finds ducts worth cleaning; some find ducts that need repair first. Knowing the difference saves you money and gives you cleaner air, because a cleaned system with a disconnected duct is still a system that’s pulling attic air into your house.
- Whistling or hissing from vents. Often a sign of a partial disconnect or a crushed section of flex duct.
- Uneven temperatures between rooms. A common sign of a duct that’s not delivering air where it should. Not definitive, but worth a look.
- Visible dust around supply boots. A duct that’s leaking at the boot will often leave a ring of dust around the vent opening.
- Musty smells when the system starts. Often points to moisture in a duct, sometimes near a plenum connection where warm attic air and cold duct air meet.
- Sagging flex duct in the attic. A flex run that’s fallen off its support or crushed against a joist is underperforming and often torn.
- Increased dust in the house. A leaky return can pull attic dust in. Not always a duct problem, but worth checking the accessible runs.
- Insect or rodent evidence. Cracked or disconnected ducts can become entry points.
If two or three of these are present, the next step isn’t more cleaning; it’s a proper inspection. In our experience, most of these issues are fixable with targeted repair, not wholesale replacement. That’s the point of the annual October inspection: catch them when they’re small.
Duct Repair vs. Duct Cleaning: Different Jobs, Same System
These are often sold as one service. They’re not. Cleaning removes accumulated material from inside the ducts. Repair corrects structural issues: disconnected joints, torn insulation, crushed runs, sagging supports. Doing one without the other leaves the job half finished, and doing them in the wrong order wastes the effort.
When cleaning comes first
Cleaning comes first when the ducts have significant accumulation and the structural integrity is intact. Cleaning before repair in a well-maintained system lets you see the duct walls clearly during repair work and gives a clean starting point for the next inspection cycle.
When repair comes first
Repair comes first when cleaning could make a problem worse. A duct with a torn inner liner or a loose connection can be damaged further during aggressive cleaning unless it’s stabilized first. A disconnected flex run needs to be reattached before it’s cleaned, not after. In our experience, cleaning crews that don’t offer repair are a common reason homeowners end up with multiple contractors on the same problem.
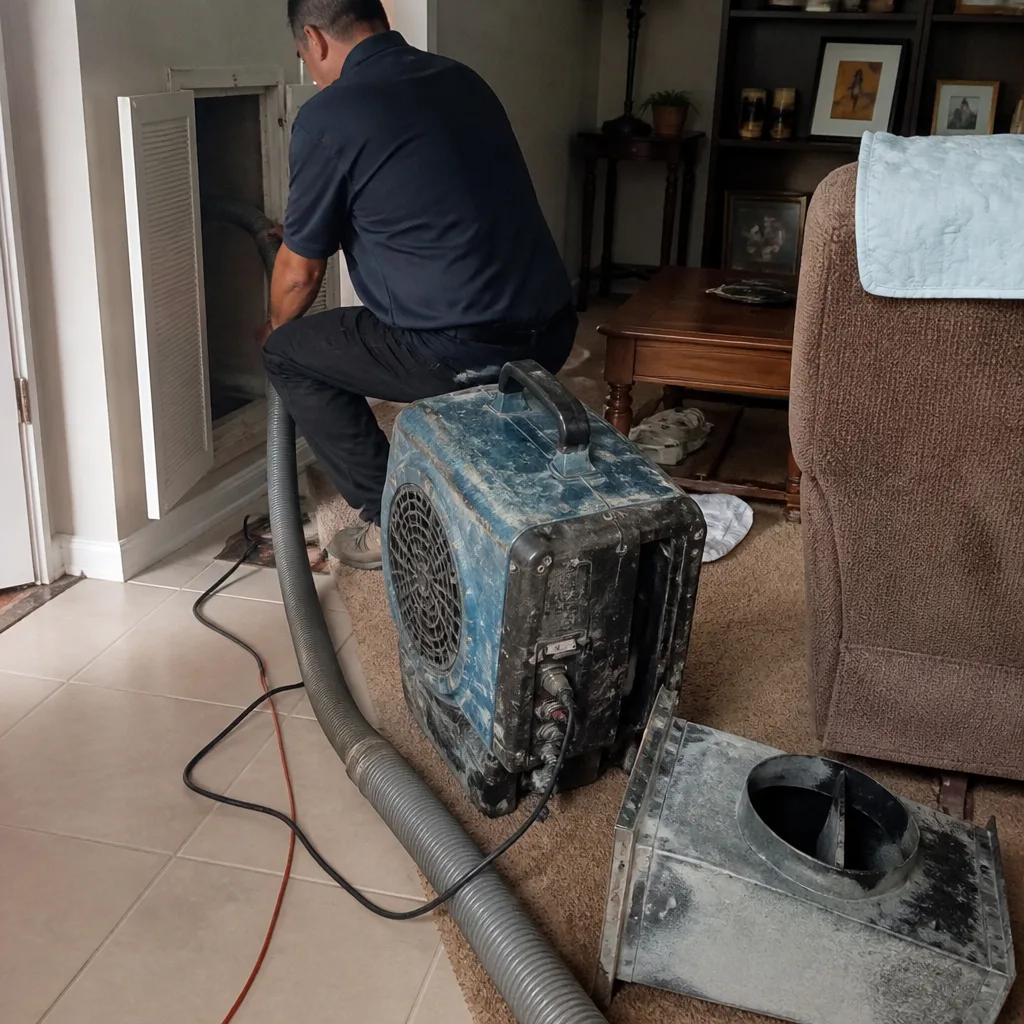
The equipment matters here. A cleaning service that relies on air pressure alone (blowing, rather than mechanically agitating and extracting) will leave duct walls coated. A rotary-brush system that mechanically contacts the duct wall and pulls material out with HEPA filtration does a fundamentally different job. We use Rotobrush rotary-brush extraction with Nikro HEPA negative-air machines and Abatement Technologies air scrubbers, because the difference is measurable in what actually comes out of the duct. The advantage of having cleaning and repair in one specialized team is that we repair what we find during the cleaning rather than handing the problem back to you.
Common Mistakes to Avoid
- Treating “annual cleaning” as a fixed rule. Cleaning intervals are condition-based. A well-maintained newer system can go years between cleanings. A neglected older one cannot. Following the calendar blindly either wastes money or delays needed work.
- Skipping the October inspection because the system “feels fine.” Duct problems often don’t announce themselves until they’re expensive. The point of an annual inspection is catching hidden issues before they reach the point of a system failure.
- Not photographing the system before anyone touches it. Once work has started, your baseline is gone. Take photos first, every time, even if the technician says it’s routine.
- Waiting for a musty smell to go away on its own. Humidity issues in Riverview ducts rarely resolve without intervention. A musty smell is a signal, not a phase.
- Letting filter changes slide during peak cooling season. Filter neglect in this climate is the number-one cause of accelerated duct buildup we see in Riverview homes.
- Hiring a “cheap cleaning” without checking the process. A truck-mounted blower with no mechanical agitation and no HEPA filtration redistributes dust more than it removes it. Ask what equipment will be used and how the duct wall is being contacted.
- Overlooking the dryer vent. Lint accumulation is a fire risk, and it’s easy to forget because the dryer keeps working. Add it to the annual calendar as a standalone task.
- Trusting a repair recommendation without a clear description. Ask for the specific issue, the specific repair, and photos before and after. Vague language (“the whole system needs replacing”) is a red flag.
See the difference
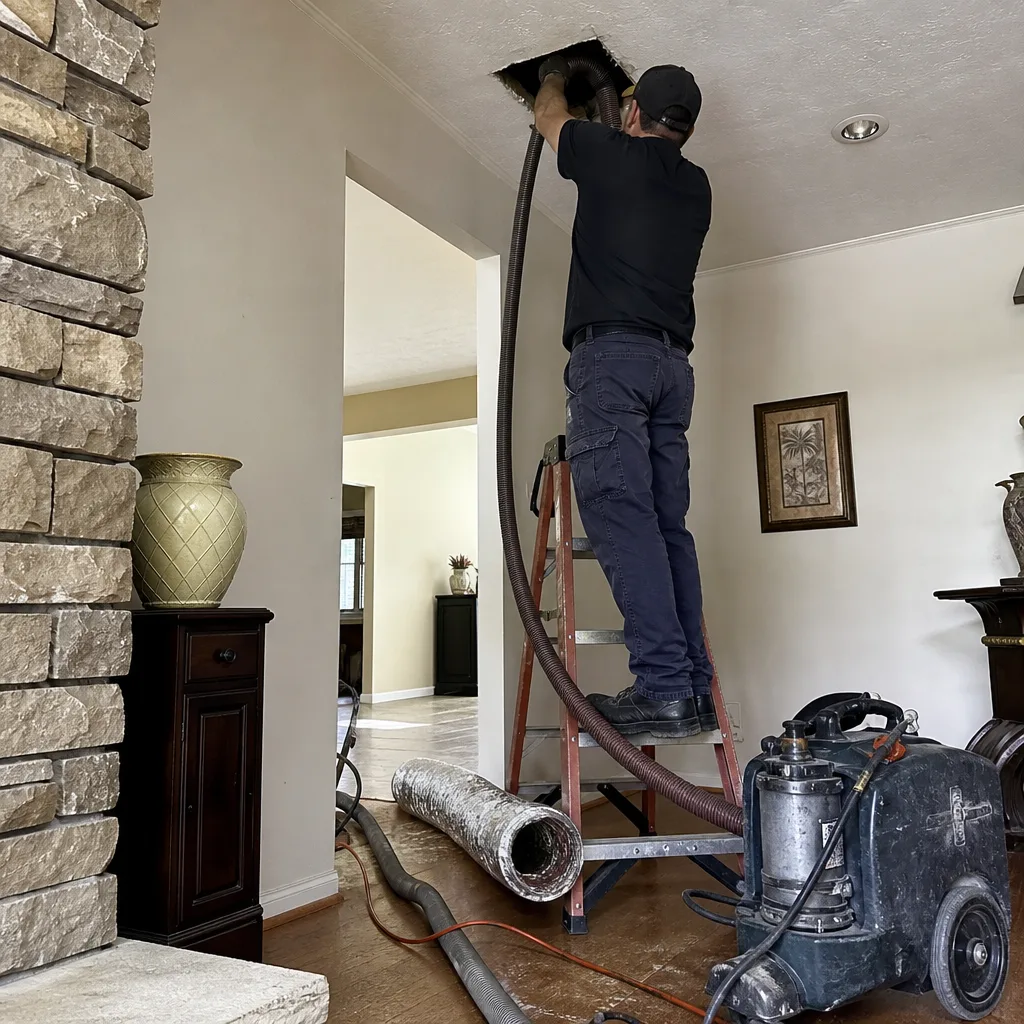 Before
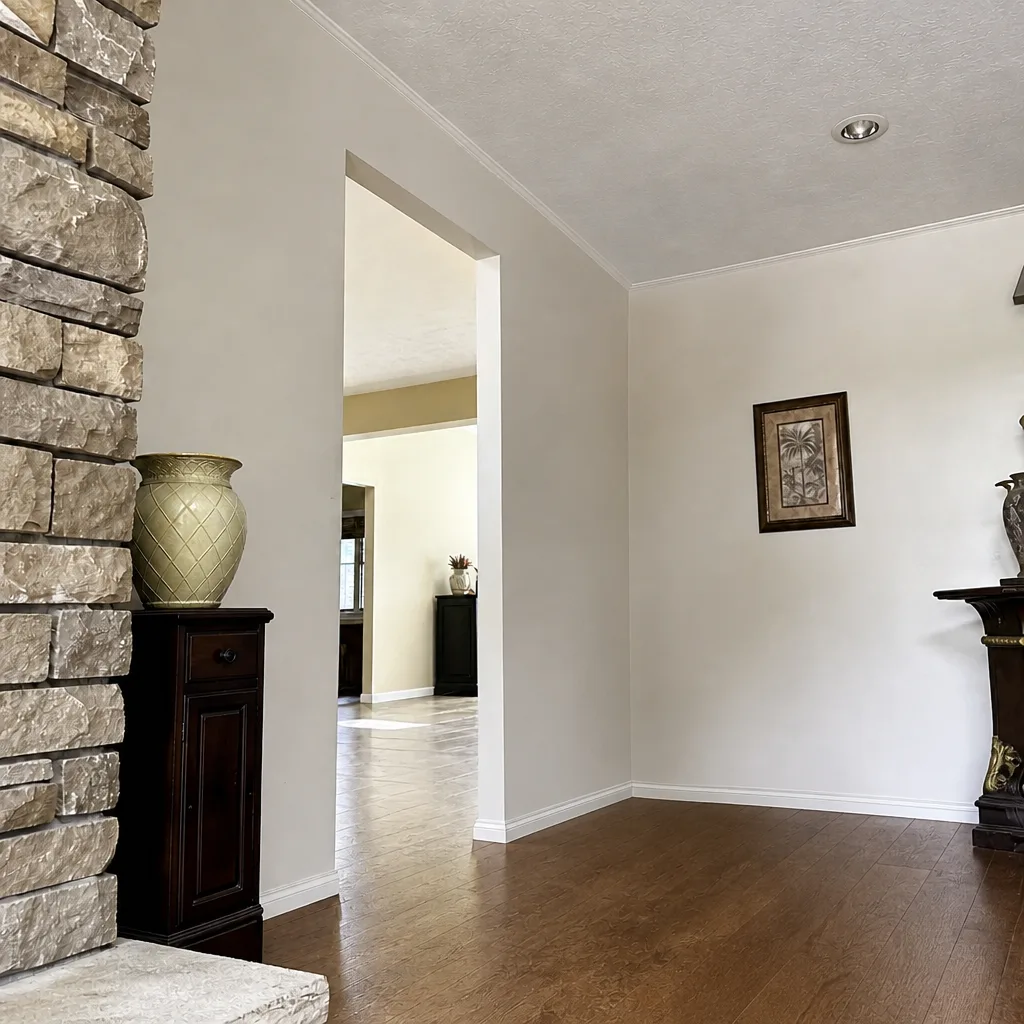 After
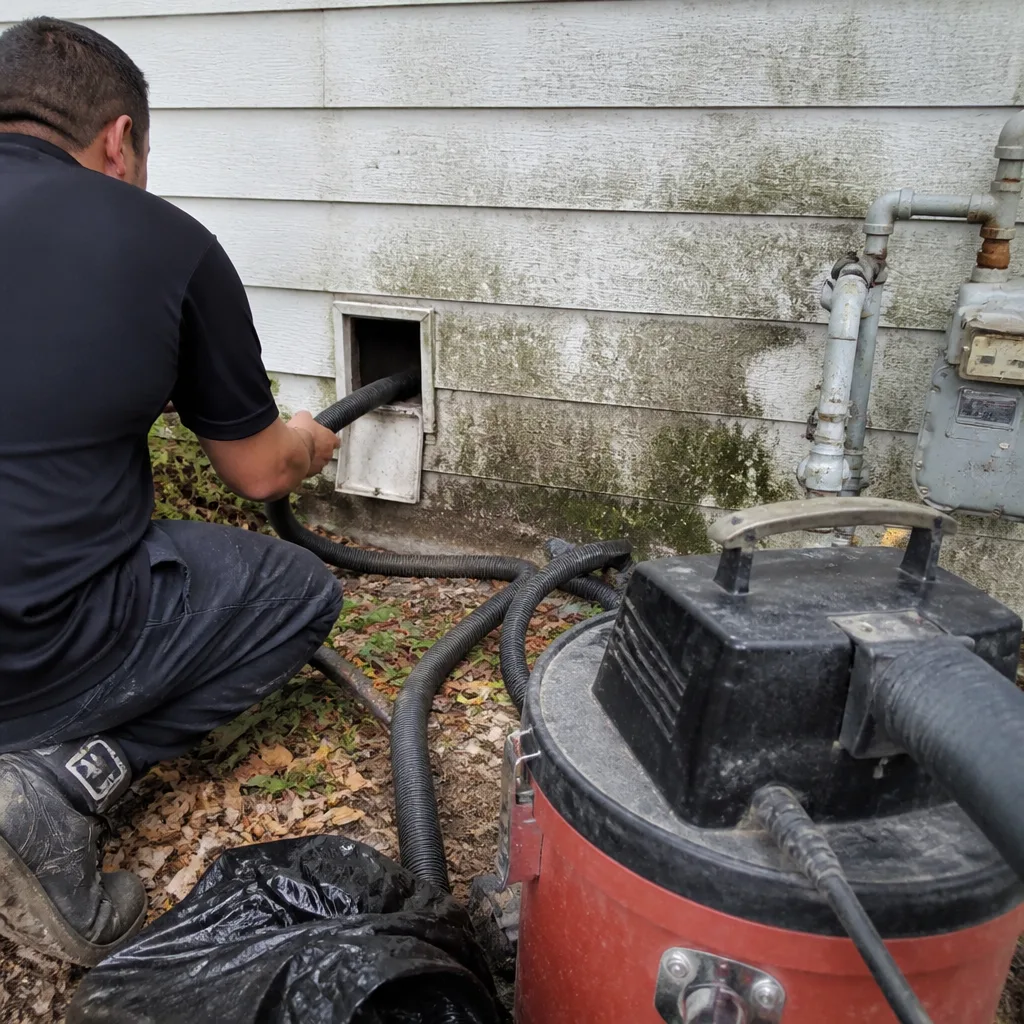 Before
 After
 Before
 After
When to Call a Professional
Some of this schedule is DIY and should be. Filter changes, photo logging, visual checks, and the running maintenance log are good homeowner tasks. Where you want a professional is when duct integrity is in question. A suspected disconnected duct, a musty smell that doesn’t resolve, moisture staining on insulation, pest evidence, any sign of airflow problems in part of the house, or a hurricane season that was worse than usual; any of those justifies a call. If the annual inspection last year flagged repairs and you haven’t done them, this year is the year. Duct Cleaning Riverview offers free estimates in Riverview. Call (866) 293-1514. We answer 24/7. Fast dispatch from 7am to 7pm, Sunday through Friday.
Frequently Asked Questions
Most homes in Riverview should be cleaned every three years, though this is condition-based rather than fixed. Homes with heavy dust loads, pets, older ductwork, or exposure to construction can need it sooner. Newer, well-sealed systems with strong filtration and light occupancy often go four to five years between cleanings. The right answer for your home comes from an inspection, not a calendar.
October is the most valuable month. Attic temperatures drop below 100°F, summer humidity damage is fully visible on plenums and connections, and there are still months before peak cooling season returns. The inspection window is comfortable for technicians and yields more information than any other month. Call (866) 293-1514 for an exact quote on a professional inspection. Estimates are free.
Yes. Negative-pressure events during high winds can pull flex duct off plenums, tear the inner liner, and lift tape or mastic at connections, even in homes with no structural damage. A post-hurricane-season inspection is worth doing every year from November through December. It’s a quick check, and it catches the issues that would otherwise surface as comfort problems the following summer.
Every four to six weeks during peak cooling season, and every two to three months the rest of the year, is a sensible starting point in this climate. Adjust based on how the filter looks at four weeks. Skipping filter changes in Riverview’s high-humidity environment accelerates duct buildup and stresses the whole system. Call (866) 293-1514 for advice on filter selection and whole-home filtration upgrades.
Surface dust around vents and return grilles is fine to wipe down. Cleaning inside the ductwork is a different matter: without mechanical agitation and HEPA negative-air filtration, a DIY effort redistributes more material than it removes. If the ducts are visibly loaded or you smell mustiness when the system runs, that’s a professional job.
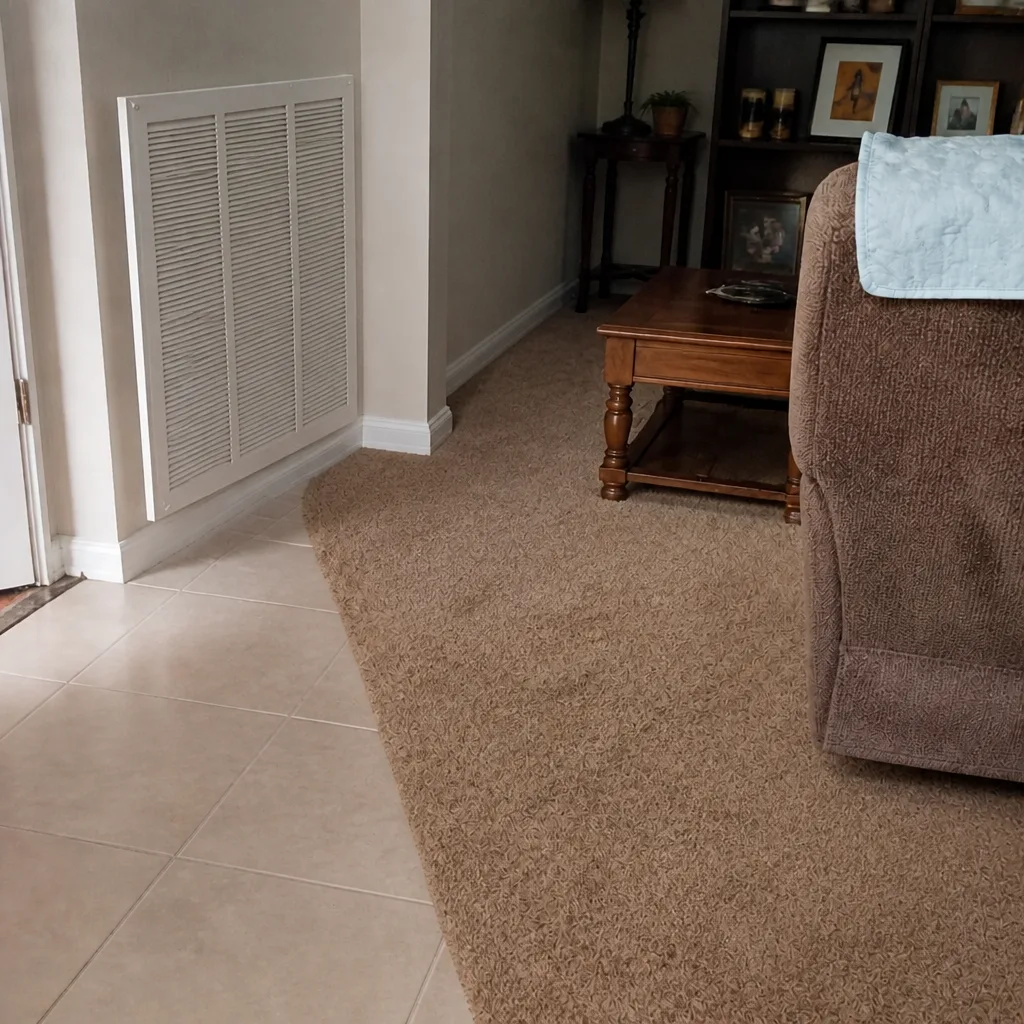
Two things: dated photos of your own baseline, and a contractor who will show you before-and-after photos of the specific issue they’re describing. We use Rotobrush rotary-brush extraction and Nikro HEPA negative-air equipment because the process is verifiable, and we photograph the work so you can compare it against your own records. Call (866) 293-1514 for a free estimate and ask any contractor what equipment they run and how they document the job.
The Bottom Line
A duct maintenance schedule is less about cleaning intervals and more about a phased inspection protocol tied to Riverview’s actual climate. October is the anchor month: attic heat breaks, summer humidity damage is visible, and you have room to repair before the next cooling season. Annual visual inspection is non-negotiable; cleaning is condition-based, usually three years for most homes and up to five for well-maintained newer systems. Never skip the post-hurricane-season check. Change filters more often than the national advice. And photograph everything, year over year, so you have a baseline when a repair is recommended. If any of this year’s inspection points to a problem, call (866) 293-1514 for a free estimate. Our technicians have up to experience, and we work with HEPA filtration, mechanical brush extraction, and post-cleaning repair so the whole system is handled by one specialized team.
Written by the team at Duct Cleaning Riverview.